Waffle iron hash browns are the best.
When I was a kid, my mom would make them for me on special occasions. We'd get up early and go out to breakfast at our favorite diner, where they had waffle irons behind the counter just waiting for us. She'd order hers with onions; I always got mine plain because I'm not into onions (or anything else that's green).

The first bite was always amazing--the crispy outside and soft inside of those golden brown potatoes made my mouth water with anticipation every time!
Ingredients
- Potatoes: You can use any kind of potato for this recipe, but I recommend using russet potatoes because they are starchy and will produce a crispy hash brown.
- Onion: Any onion will work in this recipe; however, red onions have a sweeter flavor than yellow or white onions which makes them ideal for waffle iron hash browns.
- Butter: Butter adds moisture and flavor to your hash browns! It also helps prevent the potatoes from sticking together while cooking on the waffle iron (which is important because if they stick together then we won't get those nice individual pieces). If you don't have butter at home then feel free to substitute it with olive oil or coconut oil instead!
Instructions
- Grate the potatoes and onion, then toss with melted butter in a large bowl.
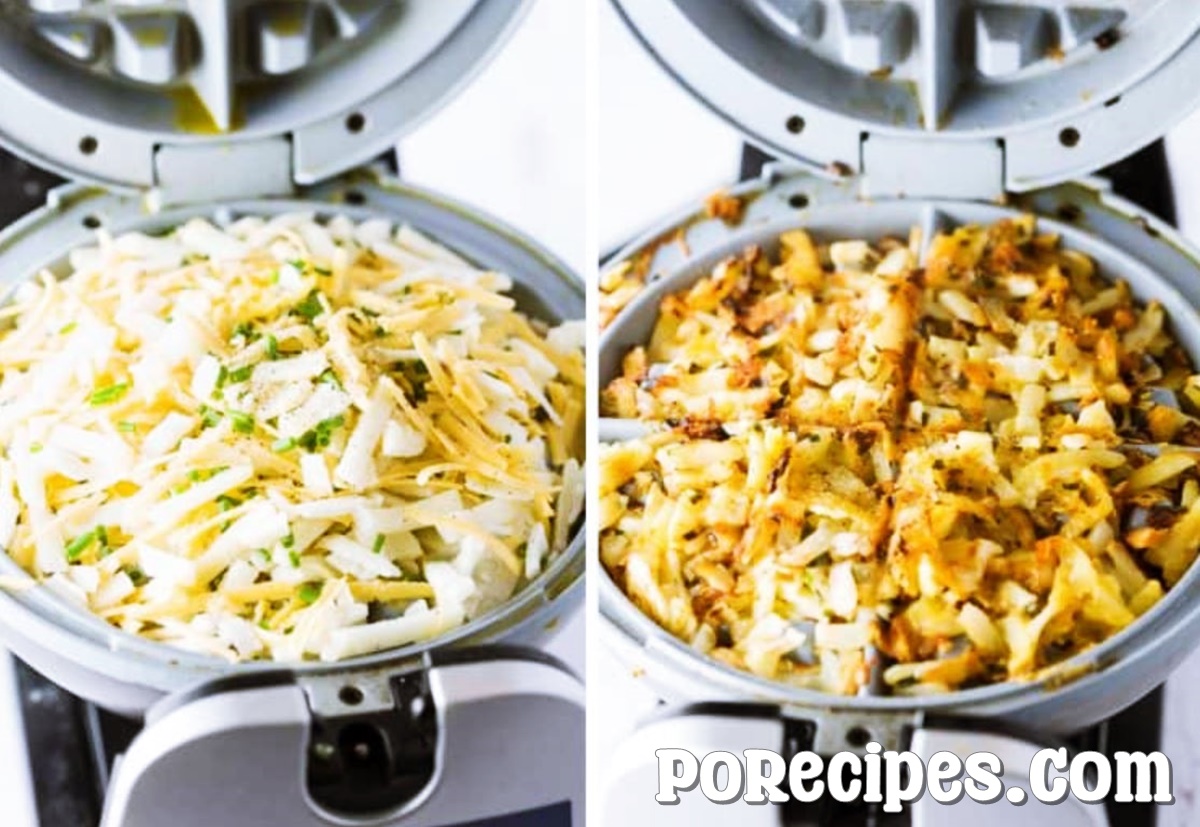
- Grease your waffle iron with nonstick spray or butter, then spoon in enough hash brown mixture to cover the bottom of each waffle section (you may have extra).
- Close the lid and cook until golden brown on both sides, about 5 minutes per side (or more if you like them crispier).
- Serve immediately!
Tips and Tricks
To help you get the best results, here are some tips and tricks:
- Use a waffle iron with temperature control. This will ensure that your hash browns are cooked evenly throughout.
- Use a non-stick waffle iron. If you don't have one, spray the inside of your waffle iron with cooking spray before adding your hash browns. You can also use butter or oil if you prefer not to use cooking spray--just make sure it's spread evenly across all surfaces so they'll cook evenly!
- Use a fork to help spread out your potato mixture into thin layers as soon as it begins to stick together (this will prevent burning). The more thinly spread out your potato mixture is when it goes into the waffle iron, the better chance there is for even cooking throughout each bite!
Variations
There are a few variations you can make to your hash browns. You could add bacon or sausage to the waffle iron, or even some cheese if you want to get fancy! If you're feeling really adventurous, try adding diced vegetables like bell peppers and onions. You can also add herbs and spices like paprika or cayenne pepper for extra flavor.
Serving Suggestions
- Serve with a fried egg
- Serve with sour cream and chives
- Serve with a side of ketchup
- Serve with a side salad
Storage
Once you've made your waffle iron hash browns, they can be stored in an airtight container in the refrigerator for up to three days. If you'd like to freeze them, place them on a baking sheet and freeze until solid, then transfer them to a freezer bag or other airtight container. The frozen hash browns will keep for up to three months.
Reheating
- Reheat in the oven or toaster oven: Heat at 350 degrees F until hot, about 5 minutes.
- Reheat in a skillet over medium heat: Heat 1 tablespoon of oil in a large nonstick skillet over medium heat. Add hash browns and cook until crisp and golden brown on both sides, about 2 minutes per side.
- Reheating in the microwave: Place frozen hash browns on a microwave-safe plate; cover with plastic wrap or wax paper (do not use paper towels). Microwave on high for 1 minute; remove from microwave and stir well before re-covering with plastic wrap or wax paper again for another minute of cooking time.
FAQs
Can I use sweet potatoes instead of russet potatoes?
Yes, you can use sweet potatoes in place of russet potatoes for a different flavor and added nutritional benefits.
Can I add other ingredients to the hash brown mixture?
Absolutely! Feel free to get creative with your waffle iron hash browns by adding ingredients like diced vegetables, bacon, sausage, or cheese.
How do I prevent my hash browns from sticking to the waffle iron?
To prevent hash browns from sticking to the waffle iron, make sure to grease the iron with non-stick cooking spray or butter before adding the potato mixture. You can also use a non-stick waffle iron for better results.
How can I make my waffle iron hash browns crispier?
To achieve crispier hash browns, you can cook them for a longer time or increase the temperature of your waffle iron, if it has adjustable temperature settings. Just be careful not to burn them!
Conclusion
Waffle Iron Hash Browns are a delicious and creative twist to the traditional hash brown recipe. Using a waffle iron not only speeds up the cooking process but also ensures a perfect crispy texture on the outside while maintaining a soft and tender inside. It's a versatile and easy-to-make breakfast or brunch option that is sure to impress your family and friends. So go on, give this recipe a try, and enjoy the scrumptious taste of waffle iron hash browns.





Leave a Reply