
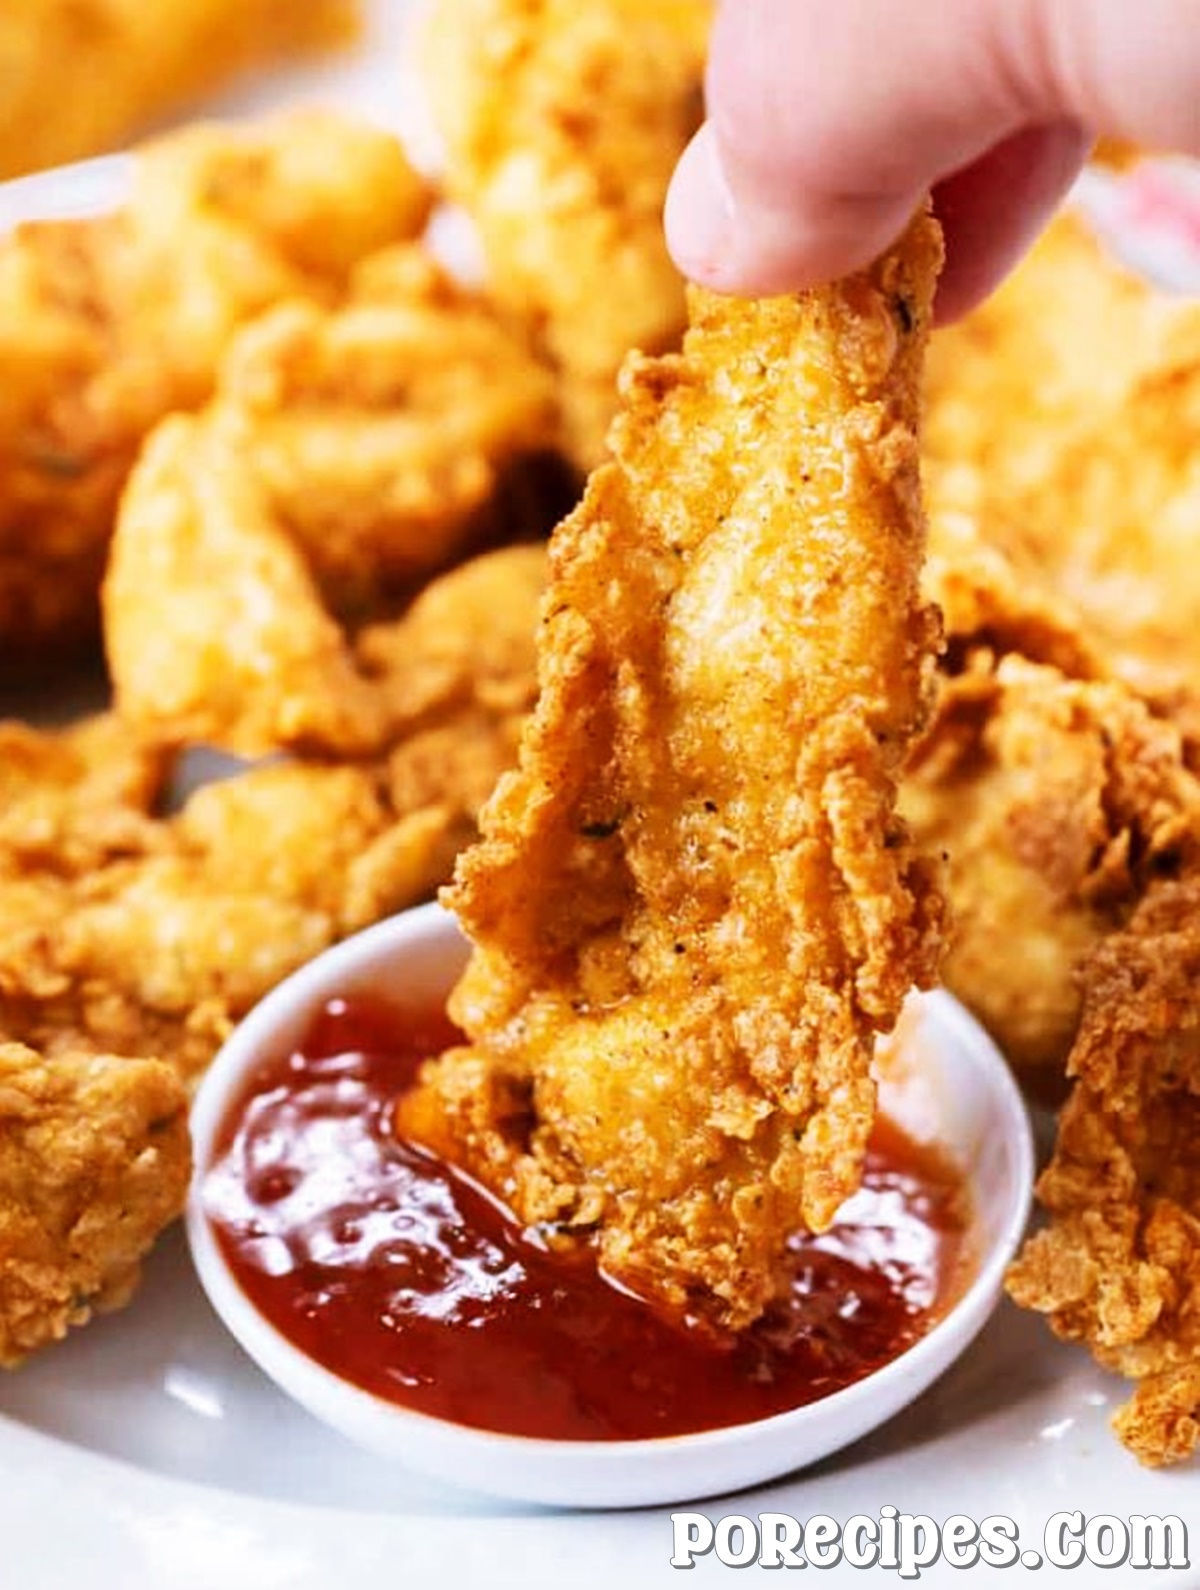
It's simple to make these extra-crispy fried chicken tenders at home, and they taste just as good as the ones from your favorite restaurant. Discover the techniques used by chefs to create a golden, perfectly seasoned, crunchy batter.

Fried Chicken Tenders
The only skill I have is the ability to fry up a batch of crispy, CRISP chicken!
You can make these right now with the ingredients you already have at home, so there's no need to go out and buy more buttermilk. Let's get started with everything you should know!
How to Make EXTRA CRISPY Fried Chicken Tenders
DO NOT USE BUTTERMILK; USE A DRY BRINE METHOD!
When you dry brine chicken, salt it and place it uncovered in the refrigerator for a number of hours. This achieves 4 goals:
- It enables the salt to permeate the chicken, giving it a rich flavor.
- Additionally, the inside becomes even more juicy as a result of the moisture being drawn out by the salt and then being reabsorbed by the chicken.
- The meat becomes more tender as a result of the salt's ability to break down tough muscle proteins.
- It keeps the chicken's exterior dry, enabling the breading to adhere well and become extra crispy.
In some cases, I just find it simpler to dry brine the chicken than to soak it in buttermilk, which is a popular alternative method for making fried chicken.
Note: If you are unable to complete the dry brining step because of time constraints, you can still enjoy delectable chicken tenders.
REMOVE IT FROM THE FRIDGE FOR 20 MINUTES BEFORE FRYING.
In addition to ensuring even cooking, this keeps the oil from cooling down too much before the chicken is added.
THOROUGHLY DRY THE CHICKEN BEFORE BREADING.
Before you start breading the chicken, make sure that every piece is thoroughly dry if you don't have time to dry brine it (or even if you do).
ONLY DIP IT IN EGG WHITES.
- We want fried chicken with a really crunchy, textural texture for these chicken tenders. The egg whites' protein aids in the breading's grip and retention. Additionally, it is lighter and not overly moist, which prevents it from soaking through the breadcrumb mixture.
- While using only egg whites is the recipe's secret ingredient, using egg yolks in Chicken Parmesan is acceptable. Be sure to beat it until it is foamy and airy.
- Use your hands to gently slide off any extra eggs from the chicken so that they aren't overly coated if you prefer to use the entire egg rather than just the whites.
BREAD LARGELY. BREAD WITH TEXTURES IS GOOD.
- As you move the chicken too and from the plate, you'll notice that it begins to acquire more texture as you bread it. This breading's texture is exactly what we want. (Simply attempt to keep it dry.)
- It's crucial to generously coat the chicken in all of its crevices.

Temperature For Frying Chicken
- In canola or vegetable oil that has been gradually heated to 350° to 375°, perfect fried chicken is prepared. The key here is using an oil thermometer. OR, you can fry food in a deep fryer.
- You might need to lower the temperature at various points during the cooking process and then raise it again. The oil heats up more as the chicken continues to cook. It becomes cooler as more chicken is added. Keep the temperature at a level that feels appropriate for that lovely golden brown hue.
- If your oil becomes cloudy, add some more oil to the pan to help it become a little clearer. Be aware that doing this will momentarily lower the oil's temperature.
Reusing the Oil
- On this one, I'm going to agree with Cook's Illustrated, which says that the oil used for frying chicken can typically be used three to four more times before being discarded. Additionally, if necessary, they offer advice on how to clean the oil first.
- The next batch of whatever you fry will pick up some of the flavors from the fried chicken, so keep that in mind. This may be advantageous because it enhances the flavor of the food.
- With my unused oil, I like to make a batch of homemade french fries. Until I'm ready to use it again, I store the oil in my dutch oven with the cover for a few days. Just keep in mind that cast iron will rust if you do this.
Air Fryer Method
Disclosure: Deep frying this chicken gives it the best flavor and texture, but if you must, here are the air-frying instructions.
- Set the air fryer to 375 degrees. Heat to 350° if yours gets hot quickly.
- The breaded chicken should be placed on the air frying basket, not overlapping, and, if necessary, fried in batches.
- Before air frying, liberally coat the outside with Canola Oil Cooking Spray.
- For 10 to 15 minutes, air fry. Flip over and reapply Canola oil.
- Cook for a further ten minutes.
Before serving, make sure the meat has reached an internal temperature of 165°.
Dipping Sauces For Serving
Serve these with my simple honey mustard sauce if you can.
Other choices include honey (my personal favorite for chicken tenders and homemade chicken nuggets), sweet and sour sauce, ketchup, ranch, or ranch dressing.
Storage
Refrigerator
- Refrigerate leftovers for 3–4 days after storing them in an airtight container.
- Reheat for 15 minutes in a 375° oven.
Freezer
- Additionally, you can flash-freeze food on a baking sheet for one to two hours and keep it frozen for one to two months.
- Reheat for 20 to 25 minutes in a 375° oven.
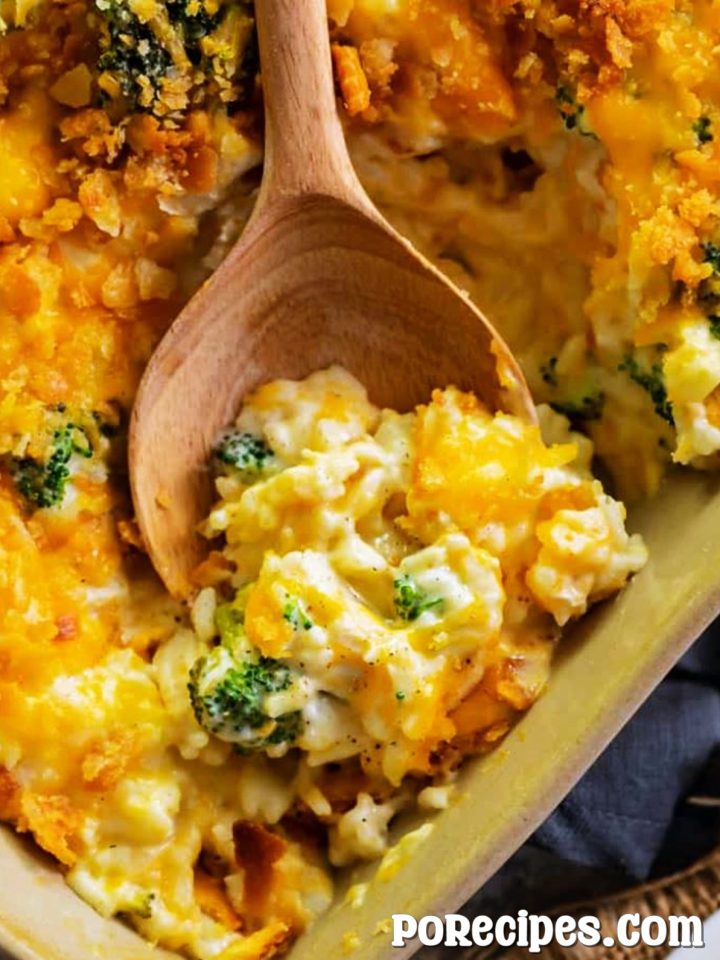
- My mashed potato casserole with crispy chicken tastes great with leftover chicken tenders!

Fried Chicken Tenders
Ingredients
- 2 large boneless skinless chicken breasts
- Kosher Salt + Pepper
- 3 egg whites
- 48 oz. canola oil, for frying
Breading
- 1 cup all-purpose flour
- ⅓ cup breadcrumbs, plain or Italian
- 1 ½t seasoned salt
- ½ teaspoons paprika
- ¼ teaspoons cayenne pepper
- 1 teaspoons black pepper
Instructions
- Set cooling racks over a baking sheet so that you can transfer the chicken onto the racks and allow excess oil to drip from the bottom. The air flow on all sides ensures the chicken stays crispy.
- Cut the chicken breast into strips that are about ¾ inch thick and 5 inches long. Pat completely dry. Sprinkle lightly with salt and pepper on each side. (Use about ¼-1/2 teaspoon coarse or kosher salt per pound of chicken)
- Optional Step #1: Dry brine the seasoned chicken breast by letting it sit uncovered in the fridge for 4 hours on the bottom shelf. This keeps it dry on the outside which allows the breading to stick to it well. It also allows the salt to penetrate through the chicken which allows the inside to become juicy, tender, and flavorful.
- Optional Step #2: If possible, remove the chicken from the fridge 20 minutes before frying for even cooking throughout.
- Combine the breading ingredients and set aside.
- Crack egg whites into a small bowl, save the egg yolks for another dish if desired.
- Beat the egg whites until fluffy and frothy.
- Place saran wrap over the chicken and use the rough side of a meat mallet to pound the meat and create texture on the outside, this allows the breading to work it's way into the crevices and creates grip to hold on to the breading.
- Dip each piece of chicken into the egg whites, then coat it generously in the breading mix, allow every cook and cranny to get thoroughly coated.
- Add oil to a dutch oven, fill it no more than halfway. Heat to 350-375 degrees. (You can also use a deep fryer.)
- Fry the chicken tenders in batches, each side will take about 4 minutes to sufficiently brown. Remove and transfer to cooling racks.
- PRO TIP: Transfer cooling racks to a 200° oven to keep the chicken warm while you fry the remaining batches.
- Ensure the internal temperature has reached 165° prior to serving.
Notes
Air Fryer Method:
Disclosure: Nothing beats the flavor and texture of deep frying this chicken, but here are the instructions for air frying, if you must.- Preheat the air fryer to 375°.
- Place the breaded chicken on the air frying basket, do not overlap them and fry in batches if needed.
- Use Canola Oil Cooking Spray to generously coat the outside prior to air frying.
- Air fry for 6 minutes. Flip and spray with more Canola oil.
- Cook for 3-4 more minutes.
- Ensure the internal temperature has reached 165° prior to serving.
Leave a Reply